21 Apr 2023 - by: Darkwraith Covenant
Aesthetic.
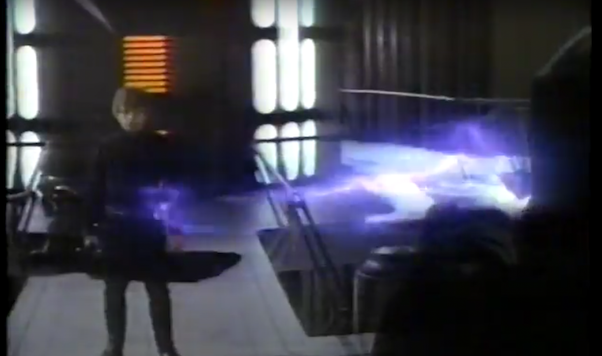
It probably comes as no surprise, but I really love the grainy, 1980s lo-fi VHS aesthetic. This is a style that is rooted in the spongey expansion of my tiny little child brain, and many of my early childhood memories are deeply encoded with images like this one from the 1986 VHS version of ROTJ:
In fact, one of the first photographs I ever took was of the CRT Television at my grandma’s old house in Jamul, CA of Luke Skywalker piloting his X-Wing. I was maybe 7 or 8 years old. It was likely the start of my interest in visual art and photography. My memory of the image is permanently embedded into my mind’s eye, like a splinter (Only true Star Wars nerds will get that reference). I simply took a picture of the television screen as the movie played, and I thought it looked cool.
It wasn’t during a particularly iconic moment in the film, it’s a closeup of Luke just sitting in his X-Wing preparing to fly it. I wish I still had the photo (if my mom digs it up, I’ll post it here.)
What you’ll need.
There are a number of ways to achieve this effect, to varying degrees of image deterioration. Some people use old CRT televisions and actual VHS tape, but not everyone has access to this old tech, so this workflow is going to focus on tech that most people already have access to:
- A television or monitor connected to a computer.
- A smart phone with a VHS video filter app installed. I use Rarevision VHS, but any of them will do.
- The internet.
- A darkened room.
- Optional: A tripod.
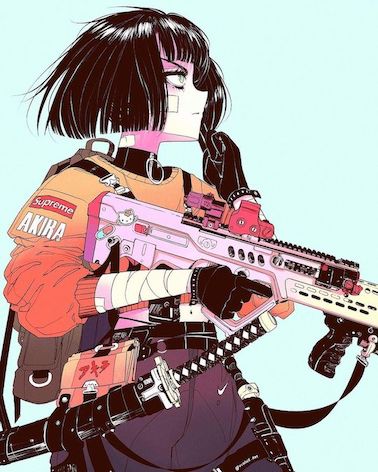
Step 1: Download a picture from the internet.
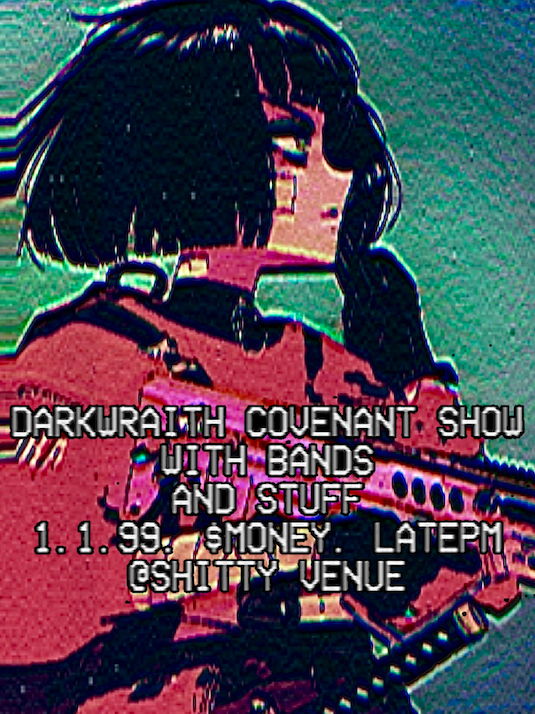
In this case, I downloaded random hi-res picture of a cyberpunk anime girl from google image search. Credit to artist: vinneart on Twitter.
Step 2: Prepare the image.
Open the image in a photo preview app on your computer that can do fullscreen. You will get the best results if the program can fullscreen and surround the image with black bars. I use the Preview App built-in to MacOS.
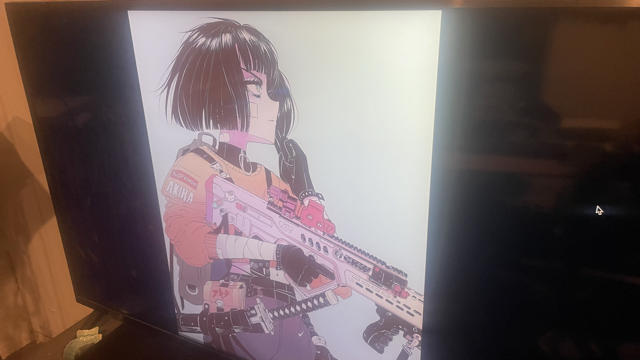
Step 3: Darken the room.
Ensure the room is as dark as possible. You want the only light to be coming from the monitor/TV itself. This is critical to achieve the effect and minimize reflections.
Step 4: Screen capture the image with the VHS smartphone app.
Take a screen grab of the image through the VHS filter app’s viewfinder, using it as a quick and dirty image processor. Rarevision has several video modes you can experiment with for different effects.
Don’t worry about the app’s GUI elements, we will crop those out in “post.” It is best to use a tripod to center things, but you can actually get away with just holding it in your hand. Just make sure it is in focus and you are not holding the phone camera too close to the screen. Just be aware that holding it at an angle from the screen instead of straight on will skew the image, which you may not want. You can also record video with the app if you want to create a video flyer as well.
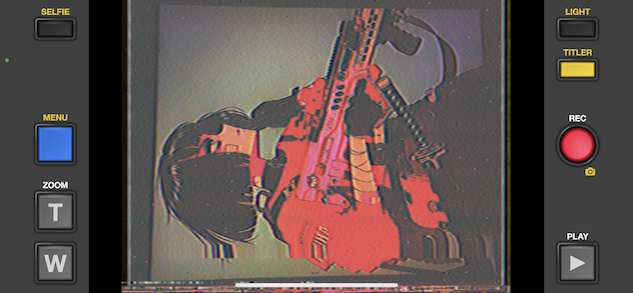
Step 5: Crop, rotate and adjust the image.
A couple of quick caveats: I should mention that in Rarevision VHS, it’s best to use landscape mode, but tilted on its side. There is a quirk with this app in that it cuts off the sides when using it in portrait mode, I do not recommend this as it will take extra steps to get it to crop properly. Another is that if you are making flyers for Instagram stories, it’s best to use 16:9 aspect ratio to fill the whole screen, otherwise 4:3 is best for posts and print media. Experiment with this.
You can now crop and adjust the image with your phone or send it to your computer and crop the image there in the photo editing software of your choice. The built-in apps work just fine.
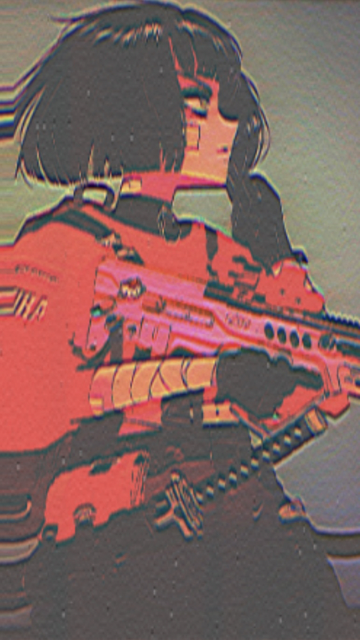
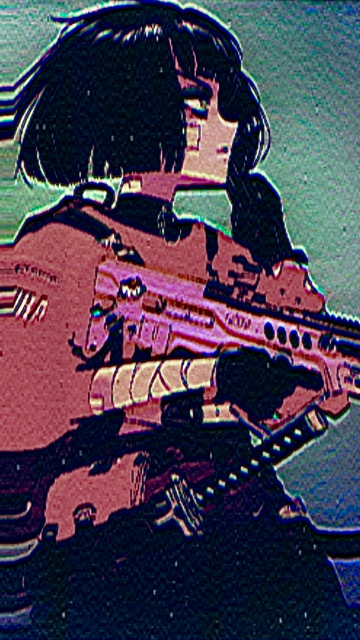
Step 6: Create the flyer text.
Here you can design the text in a couple of ways, using Photoshop, GIMP or other editing software which can overlay text. However you may not be happy with the results, as the image will appear sufficiently lo-fi, but the text will appear rather hi-res and too clean. To marry the two, you’ll want to capture text the same way you capture the image: using the VHS app again.
Rarevision has its own titler built into the app for an authentic 80s camcorder vibe. You can use that or type up text over a black screen with the font of your choosing. The concept in both cases is the same.
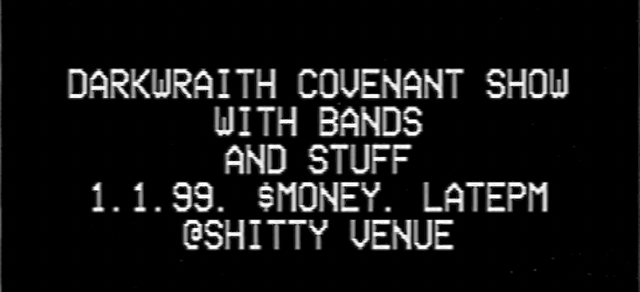
- To use the built-in titler, go into the settings and type up the text for the flyer. I will create a fake lineup/show details for this example. Be advised that Rarevision only has the ability to do a few lines of text, so you’ll have to work within this limitation and may need to get clever. Type up the text in the titler, and take another screenshot of it but cover the camera (or darken the room) so that it is completely black and the text has maximum contrast with the background. To further create contrast, I usually adjust the image and bump up the black point and contrast. You can experiment freely here as well. Here is what the adjusted and cropped text should look.
- Designing the text yourself over a custom background will give you the most flexibility, but the worflow is slightly different. The easiest way to do it is to take a screenshot of a plain black background and add text to it. I used the built-in screenshot + markup app in MacOS. Follow the same workflow from the image screencapture in step 4 to get the lo-fi effect back.
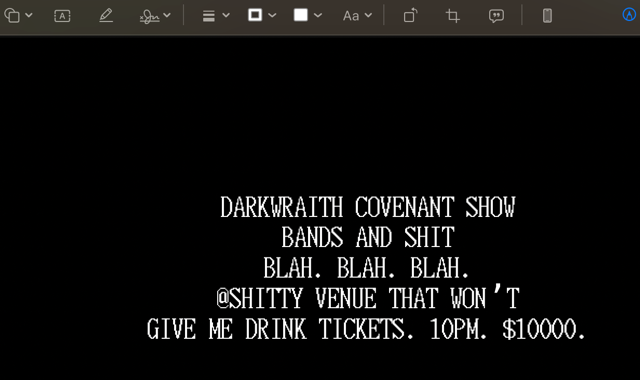
Step 7: Overlay the text over the image. You can use Photoshop, but I use GIMP because it’s free. This part is easy, you simply open the background image in the editing program, and overlay white text on the image on a different layer by dragging the image straight onto the background. Use fuzzy select > delete to remove the black background, leaving only the text(if you didn’t make the text high contrast, you will have problems, so be forewarned.) Adjust the foreground text layer to your liking using the scale tool. I like to stroke the selection with 3px, first inverting it using command + I.
Here is the end result side by side with the original.

Have fun!
 Flyer Design Tutorial


